War Sails Gameplay Showcase & Release Date
Greetings Warriors of Calradia!
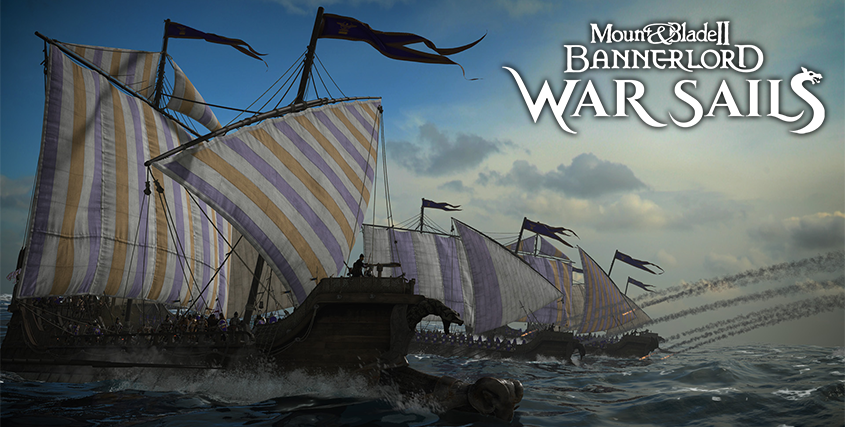
We’re thrilled to announce that War Sails will be arriving on PC (Steam, Epic Games Store, and GoG) and consoles (PlayStation 5, Xbox Series X|S) on the 26th of November, 2025! The expansion will be available for $24.99 USD / €24.99.
Watch the Gameplay Showcase to see War Sails’ naval battles come to life.
Wishlist it now to stay updated and be ready to set sail on launch day!
Dev Blog: Naval Warfare
War Sails turns waters into battlefields. Wind, oars and the naval readiness of your crew are essential, and the ship you bring to a fight only becomes dangerous if you handle it well. This blog focuses on the naval combat experience: how you steer, how boarding works, how rams land, and how a battle moves from opening volleys to the clash on the ropes and planks.
Hoisting the Sails
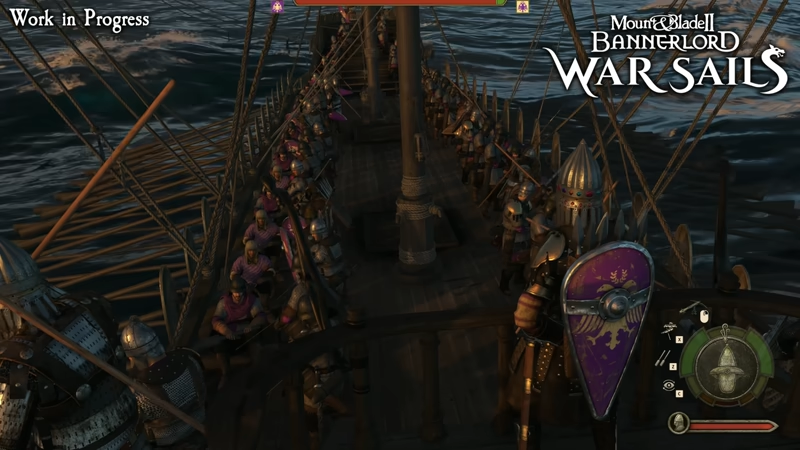
Before the fight begins, the Order of Battle phase allows you to organize your forces — just as you would on land. In naval engagements, however, each formation represents a single ship and its crew. Here, you’ll select your flagship, the vessel you’ll personally helm, while assigning the remaining ships to companions or allied nobles.
The number of ships armies can deploy in an engagement is determined by their members' perks, with each side being able to launch up to eight ships. If your fleet includes more than that, you can review the roster and decide which ships to bring into the fray. For those who prefer a quicker start, you can also choose Auto-Deploy and immediately set sail against the enemy.
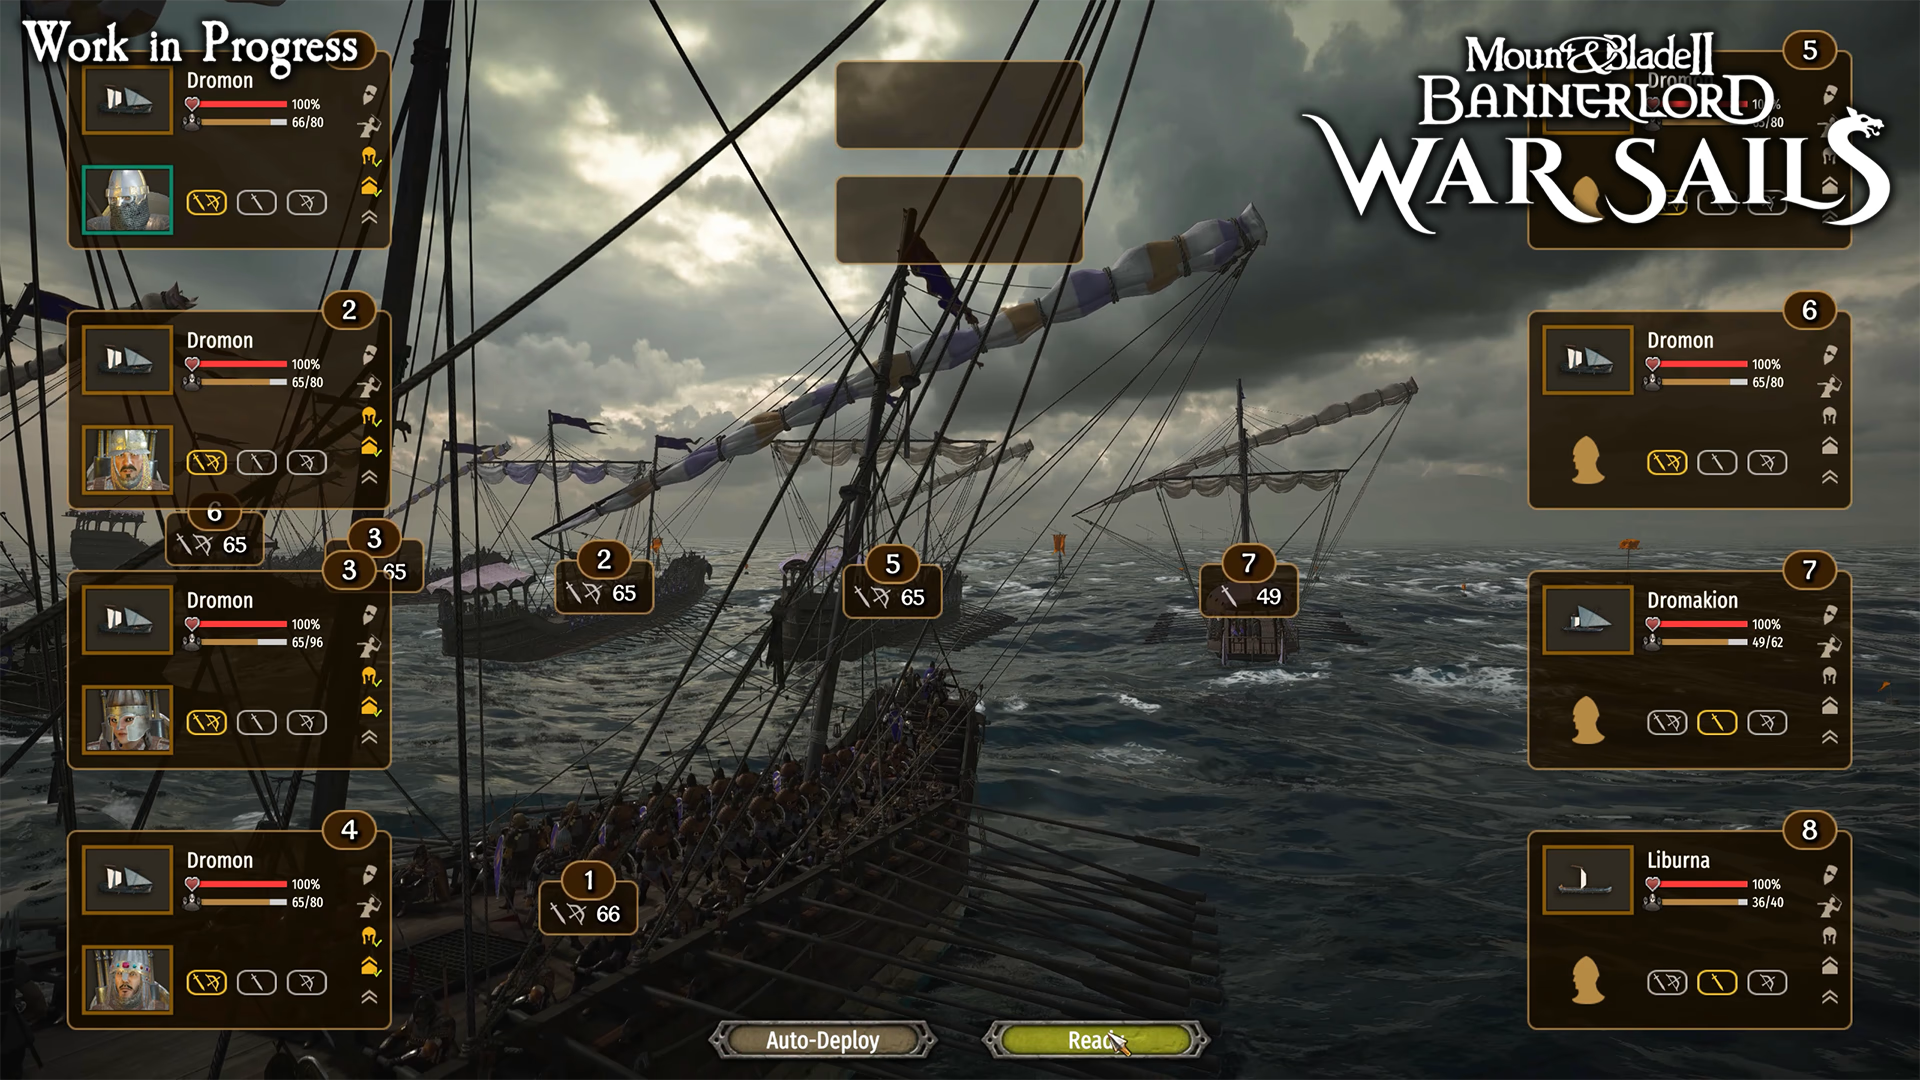
Order of Battle
Once the battle begins, you take direct control of your ship from the helm. Smaller vessels are steered by hand at the rudder, while larger ones demand authority from the quarterdeck, where you guide your crew through the stormy waves.
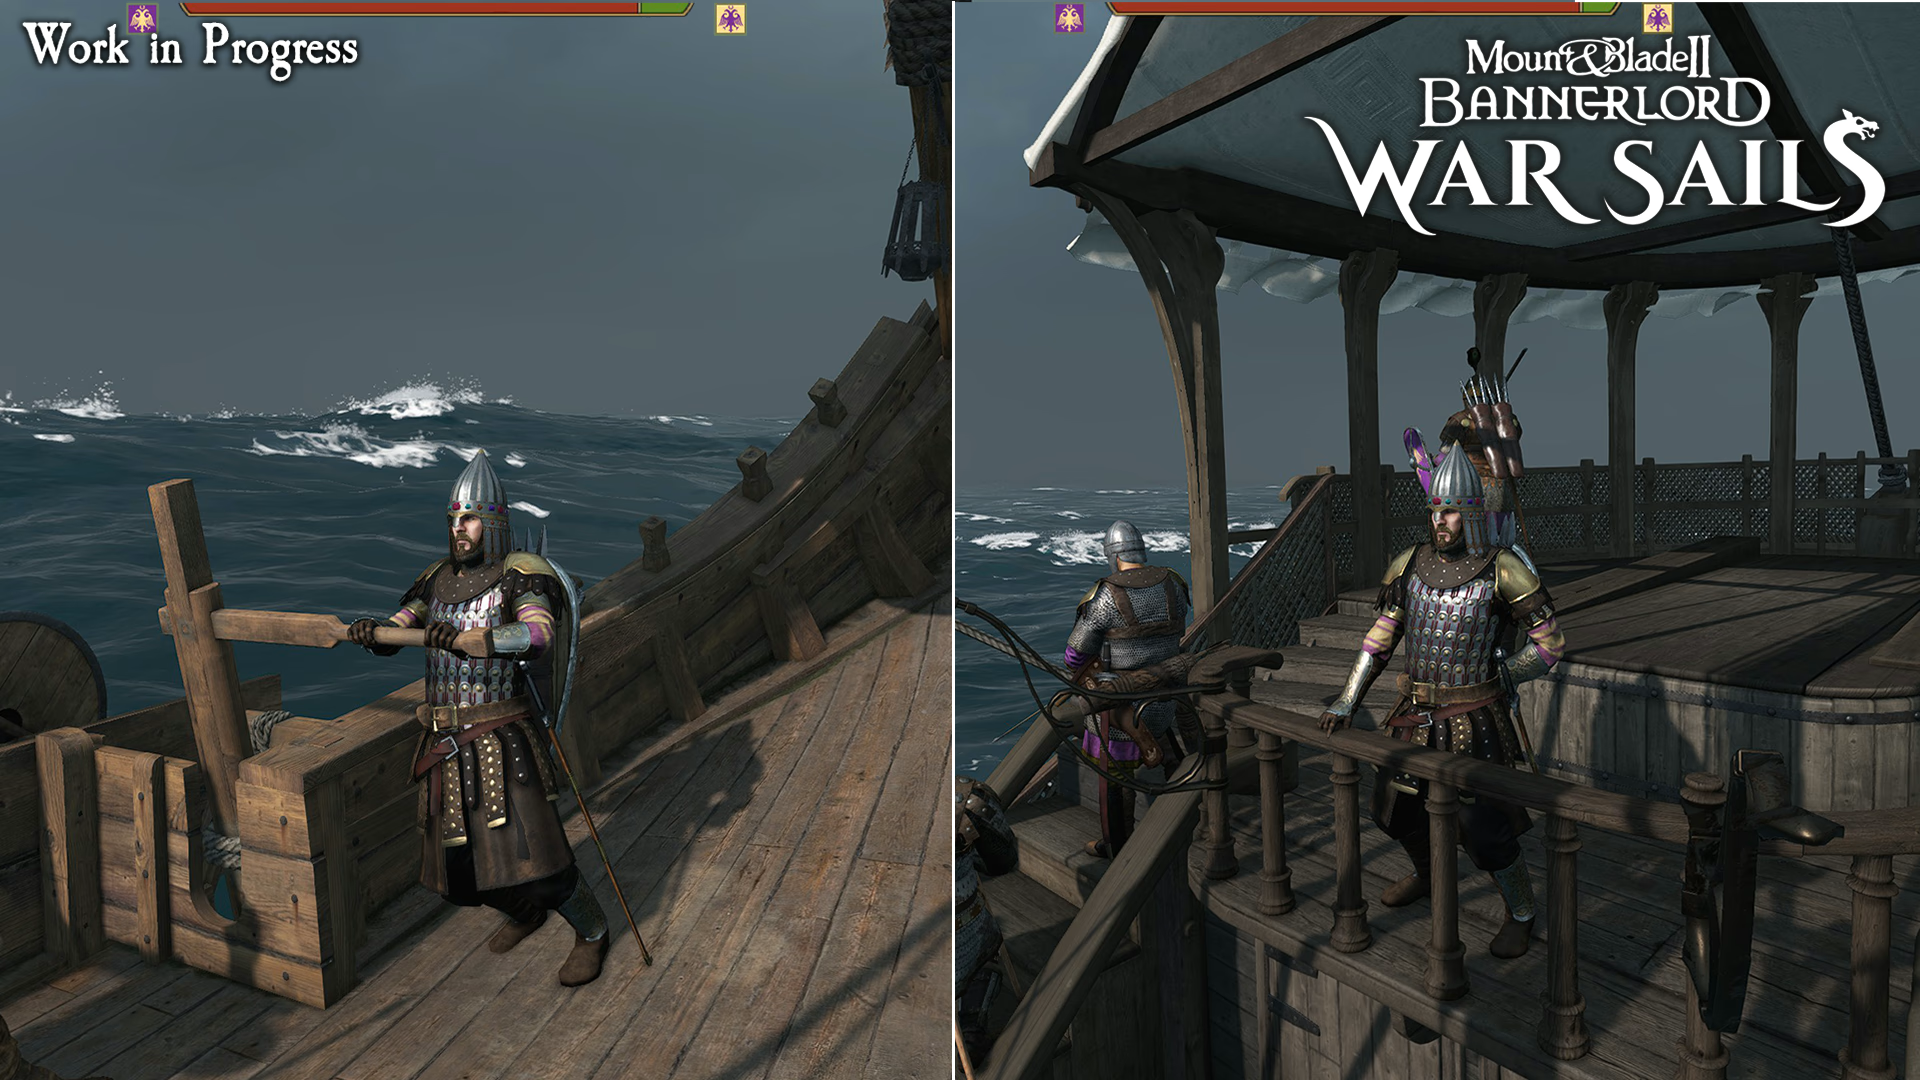
Ship Control Points: Smaller ships, Bigger ships
The opening moments of a sea battle are all about feeling the wind and setting your approach. Your sails impact both your speed and maneuverability — unfurl them to harness the wind’s strength and build momentum, or furl them when you need sharper handling with oars.
Your wind dial shows the wind’s direction relative to your ship: green marks a favorable angle, while red warns that your sails will fight against the wind instead of working with it. Each rig type behaves differently. Square sails catch a smaller wind coverage but deliver powerful bursts of speed when aligned. Lateen sails offer broader coverage, letting you carry pace across wider directions, while hybrid rigs balance the strengths of both. Hybrid sail rigs have one unique advantage — you can choose to furl the square sail while keeping the lateen one unfurled, giving you a wider coverage but stripping you of some power in the process.
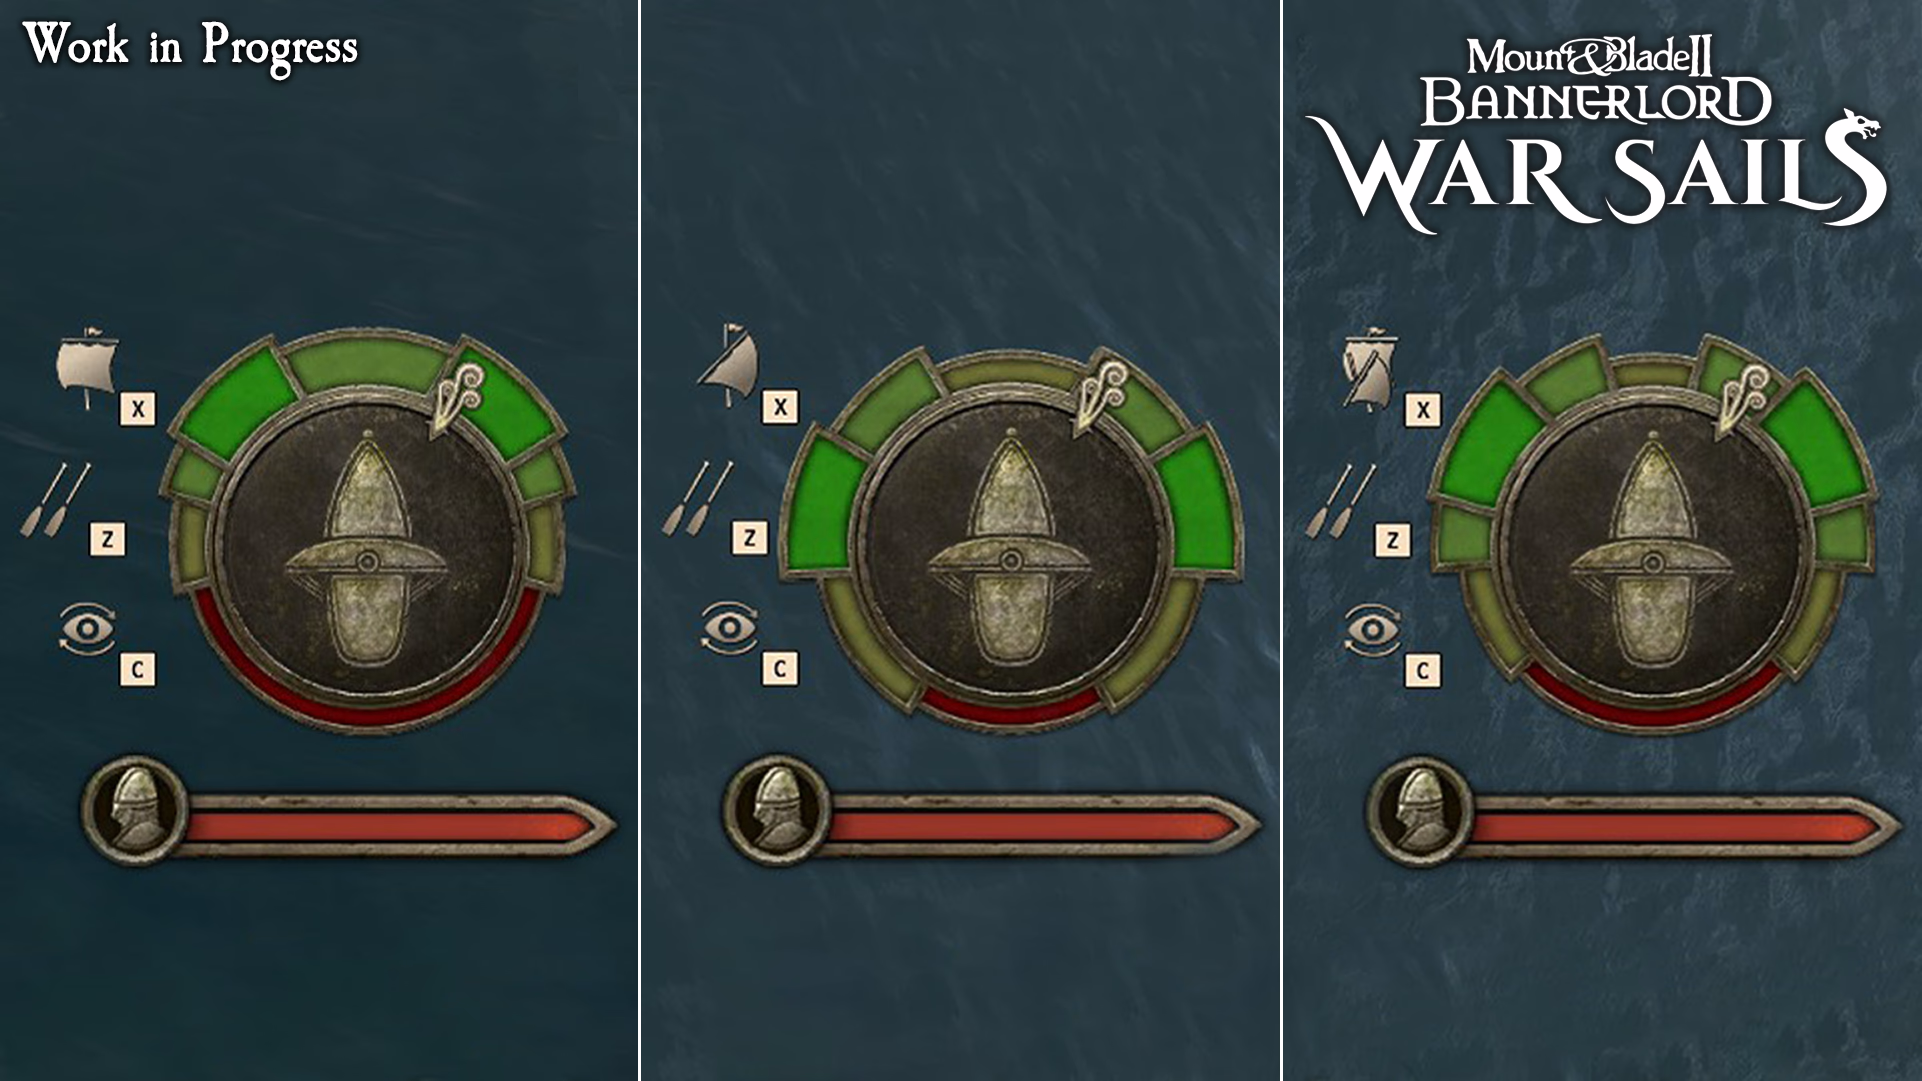
Wind dial, left to right: Square, Lateen, Hybrid
When the wind falters, oarsmen become your lifeline. Rowing serves as a secondary means of thrust in naval battles, letting ships move even when the sails hang still. Oars can be used directly by the player as well, and the troops will retract them when ships draw alongside to prevent shearing against nearby hulls. While regular hull contact won’t harm them, a direct ram strike can — oars caught near the impact may snap under the force.
If you align a strong sail rig with a favorable wind angle and build speed, oars add little once you’re already moving fast — and knowing that may be crucial. Every man on a rowing bench is one less bow on deck.
You can issue three levels of rowing commands:
- Stop using oars – benches are empty, and every crewman is ready to fight.
- Use oars at half power – half the benches are manned, giving steady thrust while keeping some hands free for combat.
- Use oars at full power – every bench is filled, maximizing speed but leaving fewer fighters on deck.
With oars, you can maneuver without wind, pivot on the spot, or even row in reverse.
Oar Power Commands
The Battle Begins
Each ship functions as its own formation, following your orders. While you helm one vessel directly, you can still orchestrate the wider fight — not by directing allied soldiers but selecting their ships to issue formation orders: move, follow, skirmish, engage, or target a specific enemy. Should you choose to delegate command, AI captains can skirmish if they hold missile superiority, support pressured allies, avoid collisions, or close in to ram and board when the moment is right.
Moving on from those first moments, most battles open at range. If your ship carries a ballista, you can take control of it from the helm. Line up your shot and depending on the ballista type — unleash bolts, stones or fire pots before proceeding with your next maneuver. And should you find yourself away from the helm, you can operate the weapon directly — much like in siege battles.
Archers and javelin throwers trade volleys across the waves, drawing from nearby supply crates to keep the pressure going longer. With braziers, those volleys turn into raining flames — fire arrows that can burn sails and set hulls ablaze. A ship with its sails burned is left without one of its main drives.
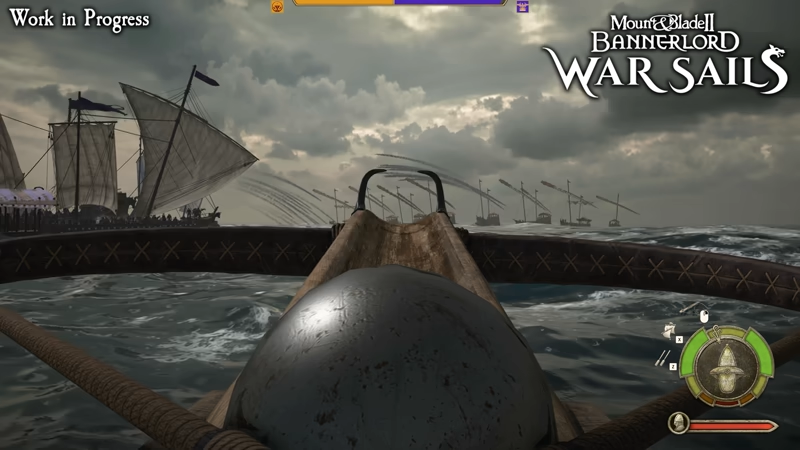
Ballista Exchange
Close Quarters
As the distance closes, other methods of destruction come into play. Effective ramming is only available to ships equipped for it, but when used on a battered ship, it can decide the battle in a single strike. Angle, speed, ship weight, and impact point all shape the damage dealt — the perfect hit comes from a fast, perpendicular collision into the enemy’s midsection. Nose-to-nose clashes do little, but a clean side impact can crush hull planks, kill nearby crew outright, or send soldiers sprawling across the deck. On a perfect strike, the shock can shake the entire ship and the troops’ morale.
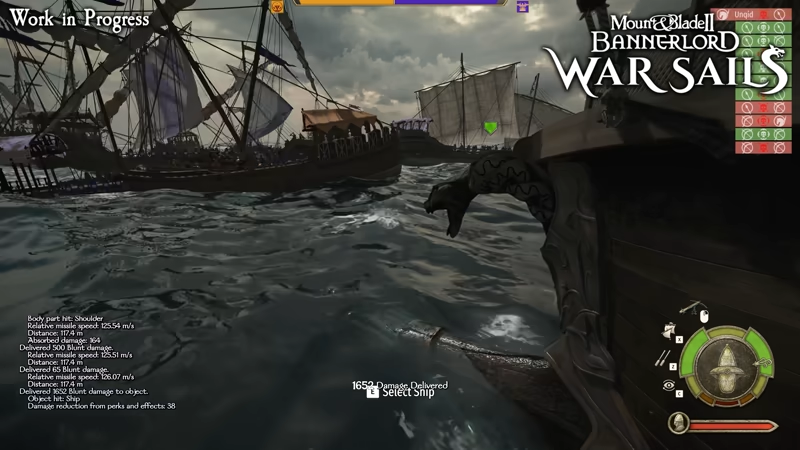
Ramming
The above-mentioned ship weight is a double-edged trait in naval combat. Heavier hulls take more time to get moving and to turn, but they ram harder and overcome bigger waves with more stability. You’ll feel the difference between the ship classes: a heavy one cuts through stormy waters that a light hull struggles with.
Hulls also break where they’re struck. Damage isn’t abstract — a ship partially sinks from the wounded side. If a ship’s Hit Points get depleted, it sinks completely. In case a fire takes hold, the crew will abandon their stations and tools, helpless until the ship succumbs to the flames. And the scars of battle remain: without repairs, ships carry their wounds into the next fight.
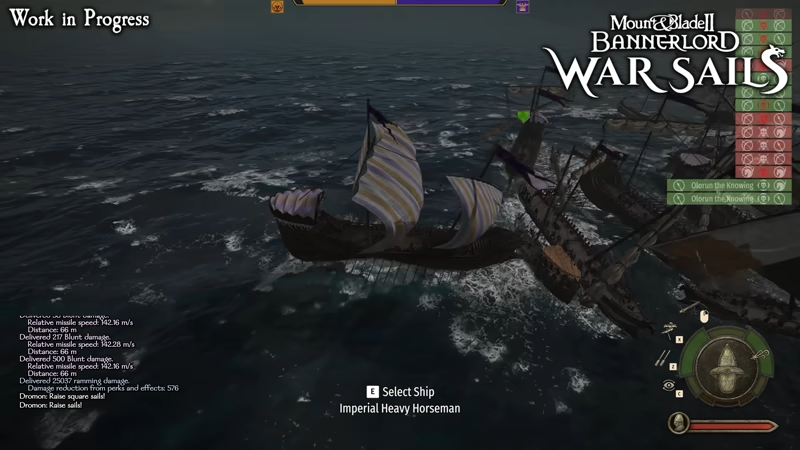
Ship Sinking
When the distance closes and the moment comes to board, give the command. You and your crew can throw grappling hooks toward the enemy ship — a single connection is enough to draw the two hulls together and form a rope bridge. Multiple hooks hasten the pull and allow more bridges to form for the assault. Once connected, you can direct your crew’s stance: Defend, Follow, Charge, or Hold/Fire at Will.
As the clash intensifies, clusters of chained ships often form — islands of locked hulls where crews fight across decks and rope bridges. If your ship is connected indirectly through another, your Charge order will send troops surging forward across every link in the chain to reach the enemy. But if the fight turns against you, you can return to the control point and command your crew to cut the bridges loose — or cut them yourself. Choosing the right moment to do this is important — any troops standing on the bridge when it is cut loose will fall into the water, including your own.
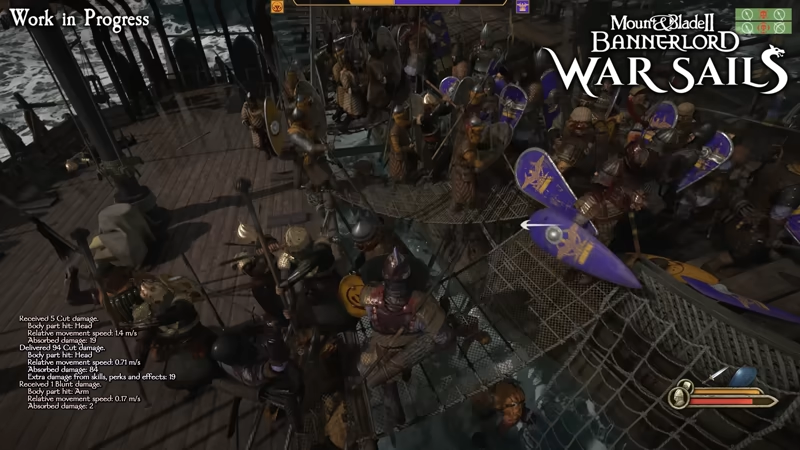
Boarding
Units won’t slip from a bridge mid-fight unless it’s cut, but the player can fall or jump off. Even then, all is not lost — you can swim, dive, and climb back aboard using the climbing nets every ship carries. Troops, however, can only swim for a limited time. Their endurance depends on tier, mariner background, and armor weight — once spent, they begin to take damage and will eventually drown. When a ship sinks, its surviving crew will attempt to swim toward the nearest friendly deck, struggling for safety before the sea claims them.
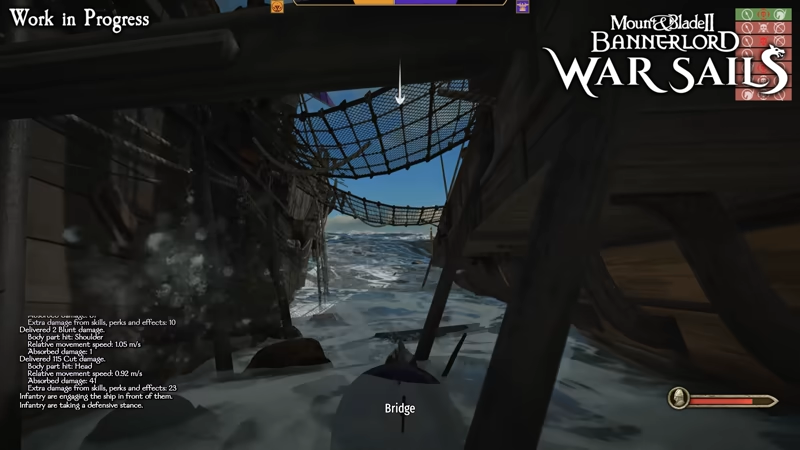
Swimming & Climbing
Commandeering an enemy ship mid-battle is also possible — abandon your initial hull, clear the enemy deck, seize the rudder, and continue the fight aboard the new ship. This can prove invaluable when your own ship is too damaged to continue the fight or lacks upgrades such as a ram or ballista that could help turn the tide of battle.
The Last Stand
Fresh troops keep the fight alive, and this is where reinforcements come into play. Each ship manages its own reinforcements, determined by its individual attributes.
A ship’s Deck Capacity defines how many troops can be on deck and fighting at once. Most vessels have matching Maximum and Deck Capacity, but some ships carry more crew than can stand topside. These extra soldiers remain below deck, waiting to take the place of the fallen. As casualties rise, they spawn to reinforce the fight and keep the deck manned. If a ship’s morale breaks, those reinforcements stop coming, even if the hull is still afloat.
Victory can be secured by destroying every enemy ship (even if survivors remain in the water) or by eliminating all enemy troops, whichever comes first.
You and your allies may be able to claim defeated ships as prizes, adding them to your fleet. Your skills and perks — along with the condition of the captured hulls — determine which vessels you can take and which must be left to the depths.
We’re thrilled to be nearing the launch of War Sails, and we can’t wait to set sail alongside you. Wishlist it now, follow our social channels for developer updates, and prepare to hoist your sails when the winds of release arrive.
